
In my case the laptop was dropped and the LCD screen got cracked.
By the way, this is my second guide for Dell Inspiron N4010 model. In the first guide I explained how to disassemble the laptop itself.
Make sure the laptop is turned off and battery removed before following the disassembly instructions.
STEP 1.
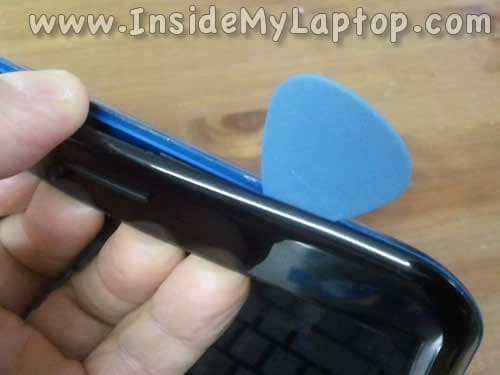
I’ll be using the guitar pick to remove the screen bezel.
Insert the guitar pick between the screen bezel and display cover and separate the bezel from the cover.
This will allow you to insert your fingers under the bezel.
Continue removing the screen bezel using your finger and guitar pick at the same time.
You’ll have to wiggle the bezel in order to release hidden latches.
STEP 2.
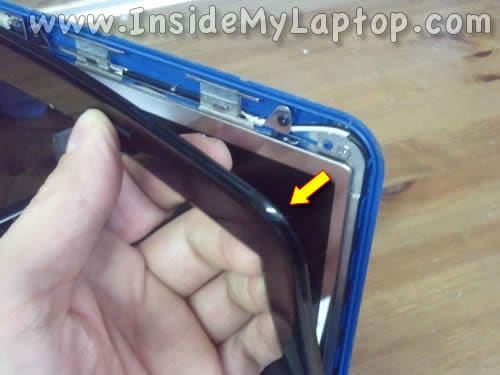
Continue removing the screen bezel on the top and both sides of the display assembly.
STEP 3.
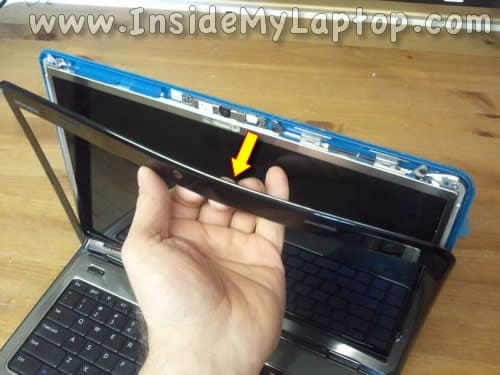
Now you can continue removing the bezel on the bottom side of the display assembly.
STEP 4.
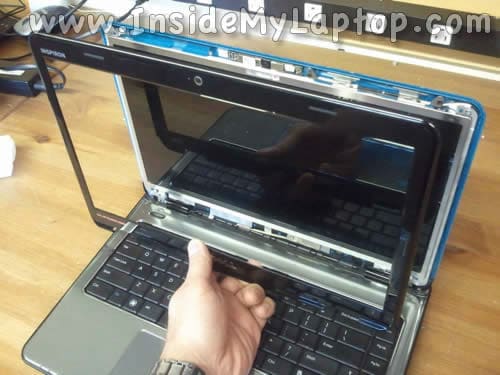
Remove the screen bezel from the laptop.
STEP 5.
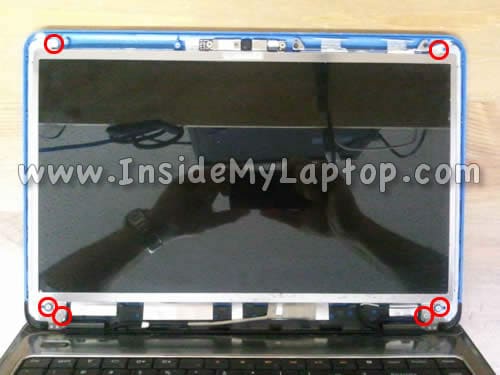
The screen assembly secured to the display back cover with six screws.
Remove all six screws.
STEP 6.
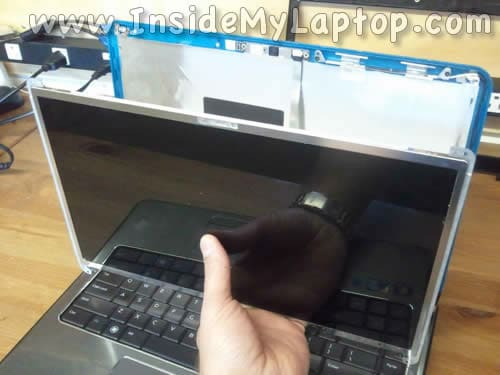
Separate the LCD screen assembly from the display back cover and place it the front side down on the palmrest/keyboard assembly.
NOTE: if the webcamera cable glued to the back cover, carefully unglue it from the cover.

STEP 7.
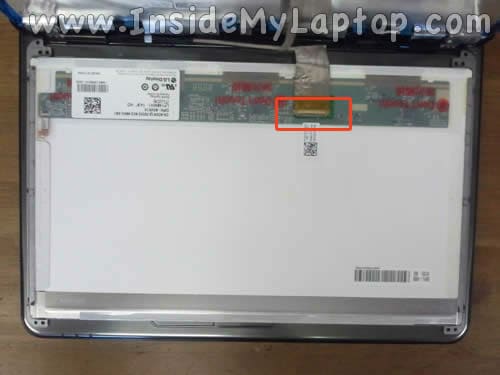
Now you can access the back side of the LCD screen and disconnect the video cable from the screen.
STEP 8.
The video cable secured by sticky tape to the back of the screen.
Carefully unglue the sticky tape.

STEP 9.
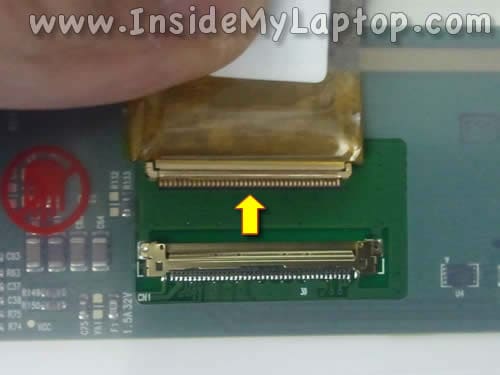
Unplug the video cable from the connector on the back of the screen.
STEP 10.
Now you can remove and replace the LCD screen with a new one.
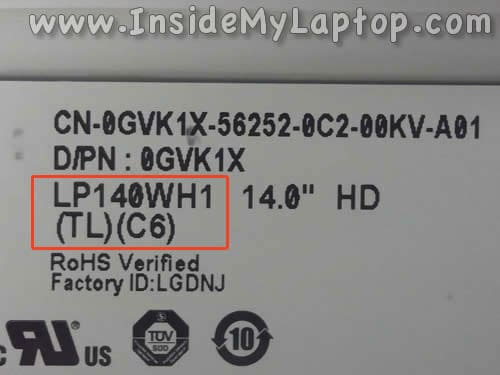
You can search for a new replacement LCD screen using the model number printed on the back of the original screen.
In my Dell Inspiron n4010 laptop I had the following screen installed: LP140WH1 (TL)(C6).
New replacement screen available here. If you have a different part number just search for it.
STEP 11.
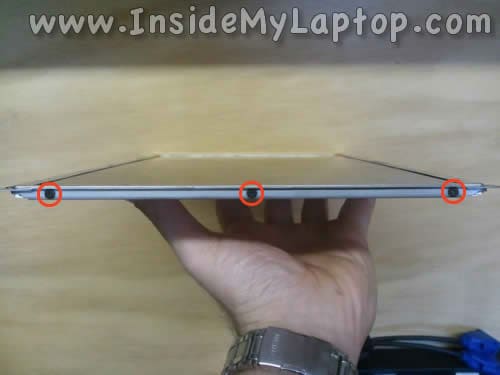
While replacing the screen you’ll have to transfer left and right mounting brackets from the older screen to the new one.
Each bracket secured by three screws.
Remove all screws, separate the bracket from the old screen and screw it to the new screen.
Assemble the laptop following all disassembly steps in the reverse order.
ConversionConversion EmoticonEmoticon